Installing Zend Studio on Windows

This procedure will describe how to install Zend Studio on Windows.

Additional Information:


Instructions on how to complete a procedure

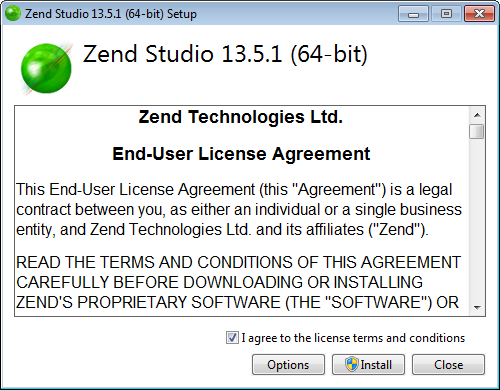
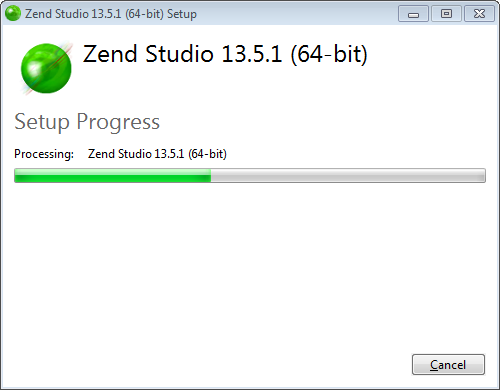
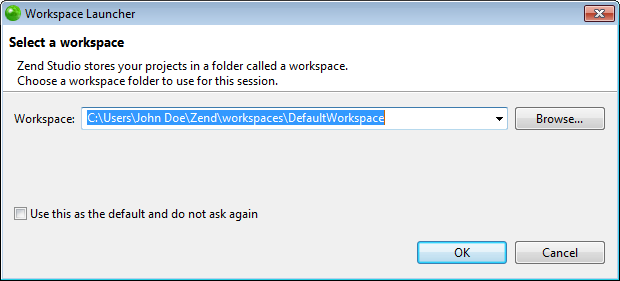
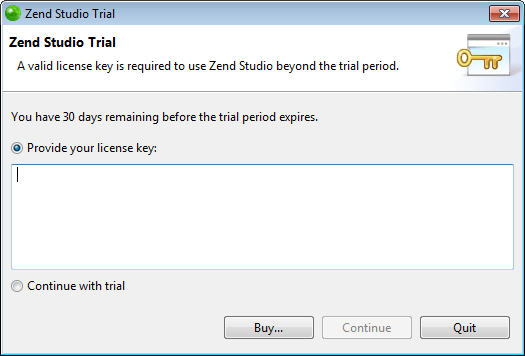
To install Zend Studio on Windows:

  1. Run the Zend Studio installation file: ZendStudio-x.y.z-win32.win32.x86_64.exe
    The installer will launch.

  1. Read and approve the license terms and conditions, and click Install.
    The Zend Studio installation process begins.

  1. Once installation has completed, a success message is displayed.

  1. Click Launch to launch Zend Studio.
    The Workspace launcher dialog is displayed.

  1. Click OK to launch Zend Studio with the default workspace, or click Browse to open an existing Zend Studio workspace.
    The Zend Studio Trial page is displayed.

  1. Provide your Zend Studio license key, and click Continue. If you wish to use Zend Studio in trial mode, select Continue with trial.
    Zend Studio launches with the selected workspace and the Welcome page displayed.

  1. The Welcome screen is a compilation of resources and information to help users of all different experience levels get started with Zend Studio. You can exit the screen by clicking the close icon in the corner tab. To return to the Welcome page at any time, go to Help | Welcome.

Zend Studio's Welcome page contains a list of plugins that can be added and removed according to your personal preferences. For more information, see Customizing and Registering Zend Studio.