DbQuery - Step 2
Modify the View's Menu Resource
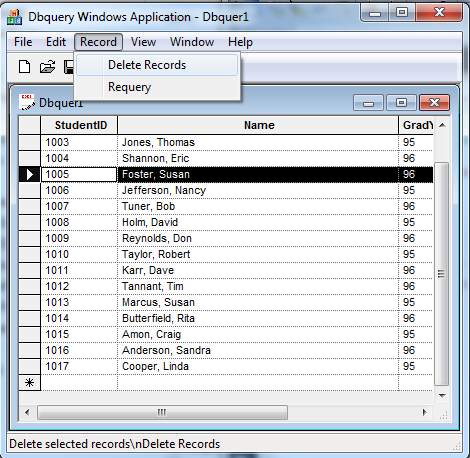
This step adds new menu items for Record|Delete Records and Record|Requery and removes the Window|New Window menu item.
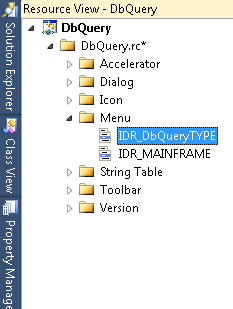
1. Open the DbQuery project resources (DbQuery.rc).
(To open resources in Visual Studio, select View|Resource View. Right click on DbQuery.rc and select Properties.)
2. Expand Menu in the resource tree and double-click IDR_DBQUERTYPE.
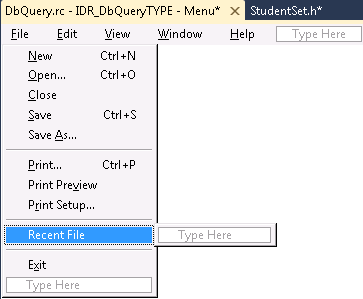
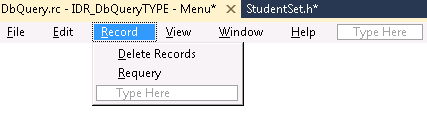
3. The IDR_DBQUERTYPE menu resource appears in a resource edit view.
4. Click View in the menu resource.
5. Right click and select <Insert New>.
A blank menu item is inserted.
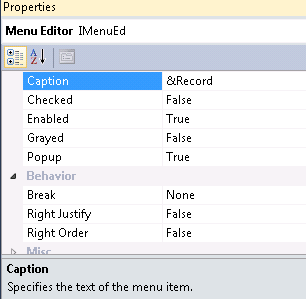
6. Right click on the newly inserted item and select Properties.
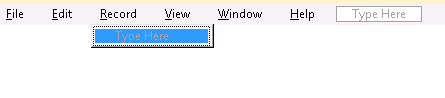
7. Type &Record in the Caption field.
8. Press Enter.
9. Double-click the empty menu item under Record in the menu resource edit view.
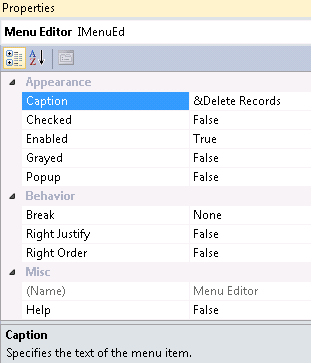
10. Provide a unique ID (ID_RECORD_DELETERECORDS) to the menu item.
11. Type &Delete Records in the Caption field and Delete selected records\nDelete Records for the Prompt.
12. Press Enter.
13. Click on the empty menu item under Record in the menu resource edit view.
14. Right click and select Insert New.
15. Double click the newly inserted item.
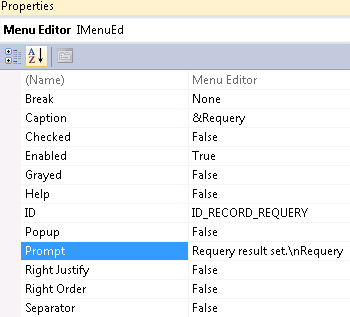
16. Provide a unique ID (ID_RECORD_REQUERY) to the menu item.
17. Type &Requery in the Caption field and Requery result set.\nRequery for the Prompt.
18. Press Enter.
19. Click Window in the menu resource.
The Window menu opens.
20. Click New Window.
21. Press <Delete> to remove this menu item.
22. Close and save the resource file.
Map the DbQuery Menu Messages
1. Select Class View from the View menu.
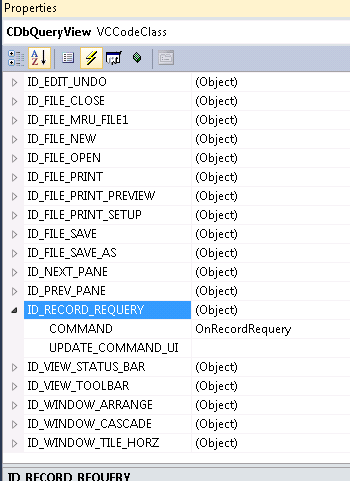
2. Select CDbQueryView for the Class name.
3. Right click CDbQueryView and select Properties.
4. Click the Events icon, then expand ID_RECORD_REQUERY.
5. Double-click the COMMAND field and pull down the combo box.
6. Select <Add> OnRecordRequery from the drop down list.
The source file is opened in the editor and the OnRecordRequery() function is added.
7. Similarly, add an update handler for the menu item.
8. Replace the following methods in DbQueryView.cpp:
/////////////////////////////////////////////////////////////// CDbQueryView message handlers
void CDbQueryView::OnRecordRequery()
{
BOOL bLock = LockUpdate();
SetTopRow(1);
MoveCurrentCell(GX_TOPLEFT);
Requery();
LockUpdate(bLock);
Redraw();
}
void CDbQueryView::OnUpdateRecordRequery(CCmdUI* pCmdUI)
{
CRecordset* prs = OnGetRecordset();
// enable if opened and updatable && not last row
pCmdUI->Enable(prs->IsOpen());
}
9. Search for the message map declaration in DbQueryView.cpp.
10. Add the following menu handlers for the Delete menu item:
ON_COMMAND(ID_RECORD_DELETERECORDS,
CGXRecordView::OnRecordDelete)
ON_UPDATE_COMMAND_UI(ID_RECORD_DELETERECORDS,
CGXRecordView::OnUpdateRecordDelete)
The completed message map should look like this:
BEGIN_MESSAGE_MAP(CDbQueryView, CGXRecordView)
//{{AFX_MSG_MAP(CDbQueryView)
ON_COMMAND(ID_RECORD_REQUERY, OnRecordRequery)
ON_UPDATE_COMMAND_UI(ID_RECORD_REQUERY,
OnUpdateRecordRequery)
//}}AFX_MSG_MAP
// Standard printing commands
ON_COMMAND(ID_FILE_PRINT, CGXRecordView::OnFilePrint)
ON_COMMAND(ID_FILE_PRINT_DIRECT,
CGXRecordView::OnFilePrint)
ON_COMMAND(ID_FILE_PRINT_PREVIEW,
CGXRecordView::OnFilePrintPreview)
ON_COMMAND(ID_RECORD_DELETERECORDS,
CGXRecordView::OnRecordDelete)
ON_UPDATE_COMMAND_UI(ID_RECORD_DELETERECORDS,
CGXRecordView::OnUpdateRecordDelete)
END_MESSAGE_MAP()
Compile and Run DbQuery - Step 2
Now, you can compile the application and run it.