Calculator Control
Objective Toolkit provides a calculator control that the user can use to perform basic arithmetic. You can use the calculator control independently or in association with a drop edit control.
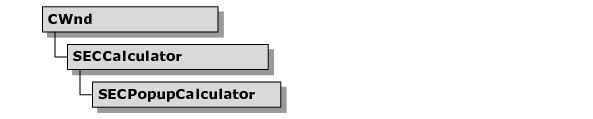
SECCalculator
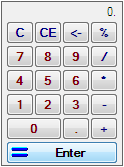
The SECCalculator class implements a calculator edit control capable of decimal arithmetic and other standard operations. The calculator queries the current locale information for formatting the numerical output and determines the decimal character to display on the decimal button.
SECPopupCalculator
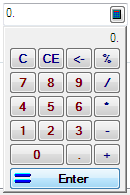
The SECPopupCalculator class creates a pop-up window for the calculator that is destroyed whenever the < = > key is pressed.
Using SECCalculator
After instantiating an SECCalculator object, the application can create the control dynamically by calling the Create() method. For example:
m_calc.Create(WS_CHILD|WS_VISIBLE|WS_BORDER|
WS_TABSTOP, sz.cx, sz.cy, this, 200);
It is important that the SECCalculator object have sufficient scope so that it exists as long as the control exists.
To set and query the value currently displayed by the calculator, use the SetValue() and GetValue() methods.
You can control and query the number of decimal places displayed with the SetDecimalPlaces() and GetDecimalPlaces() methods.
You can reset the calculator control with the Reset() method.
Customizing SECCalculator
You can customize the behavior of the SECCalculator class with the following virtual methods:
• CreateBtns(). Creates the calculator’s buttons.
• CreatePanel(). Creates the calculator’s LCD panel.
• HandleEvent(). Handles events related to the calculator’s operations (add, subtract, etc.).
• LoadDecSeparator(). Override to change the decimal separator displayed.
Calculator Sample
The
calc sample project (in
Samples\Toolkit\MFC\Controls\calc) demonstrates the use of an
SECCalculator control in a dialog. It demonstrates how to use a class derived from
SECDropEdit that creates an
SECPopupCalculator. This sample is not shipped with the product. For information on how to obtain this sample, see
“Location of Sample Code” in the
Getting Started part.