Creating a Skeleton Application
To create a skeleton application using Objective Toolkit AppWizard:
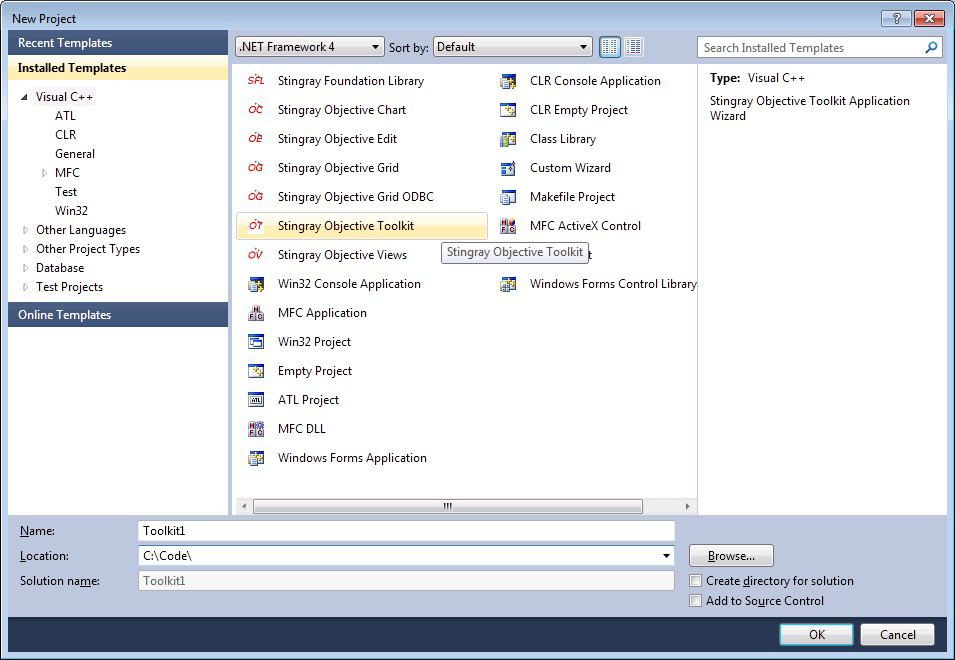
1. In Visual Studio, click File | New, and then select the Projects tab. This opens a list of project types. The Objective Toolkit installation added a new project type called Objective Toolkit AppWizard to your Visual Studio environment. Select this project type and then complete the dialog.
Once you finish selecting options in the New Projects dialog, the OK button becomes active. Click this button to start the wizard.
The first six panels of the AppWizard look like the standard panels for the Win32 Application AppWizard. The Objective Toolkit-specific portions of the AppWizard appear after you complete the Finished panel.
2. Instead of clicking Finish, click Next to view the remaining panels and choose options specific to Objective Toolkit.
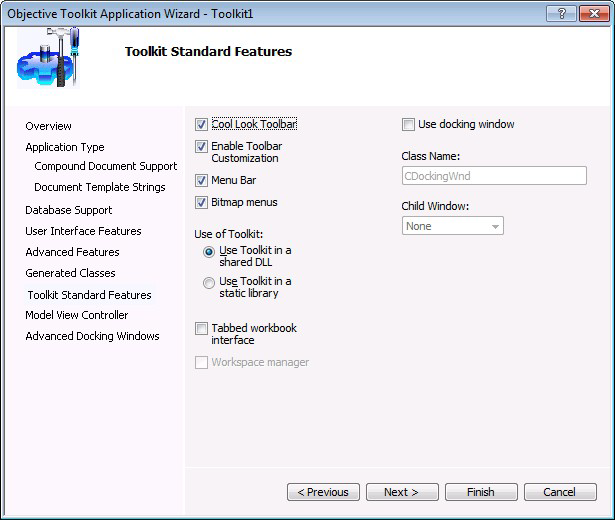
3. In this step, you can link to the Objective Toolkit libraries as either a static library or as a DLL. By default, you link statically. Choosing the DLL option adds a #define _SECDLL statement to your stdafx.h before #include “secall.h”. Later, if you decide to link statically, remove the #define _SECDLL statement.
Select
Enable Toolbar Customization to add an
SECCustomToolBar with the two-bar gripper as your main toolbar.

By selecting
Enable Toolbar Customization, you also enable the toolbar manager and customization dialog. A
Tools | Customize menu item is added to your application automatically for easy access to customization features. For more information, see
Chapter 6, “Customizable Toolbars.”The Menu Bar option adds our dockable menu class, SECMenuBar. This class can be enabled independently of bitmap menus; however, you can also use them together or in a ReBar.
NOTE >> You can enable the rebar control using the standard MFC steps.
4. The next step of the AppWizard brings in more Objective Toolkit features like the tabbed workbook interface and the workspace manager, which can save the positions of all the windows and toolbars in an application. You also have the option of adding a docking window with a selection of child windows to place inside the docking window.
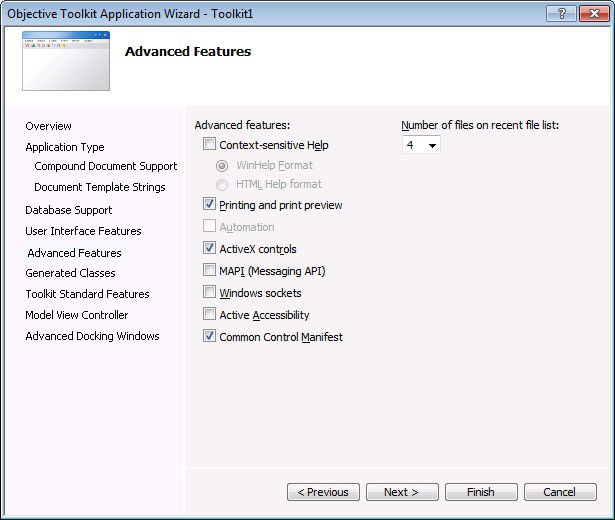
5. This step is only applicable to Objective Toolkit. In this step, you select an architecture and advanced features for your application. If you want to use
Model View Controller with the standard MFC Document/View architecture, check
Model View Controller. If you only want to support MVC, you can uncheck the
Document View support box in step one of the standard MFC steps.
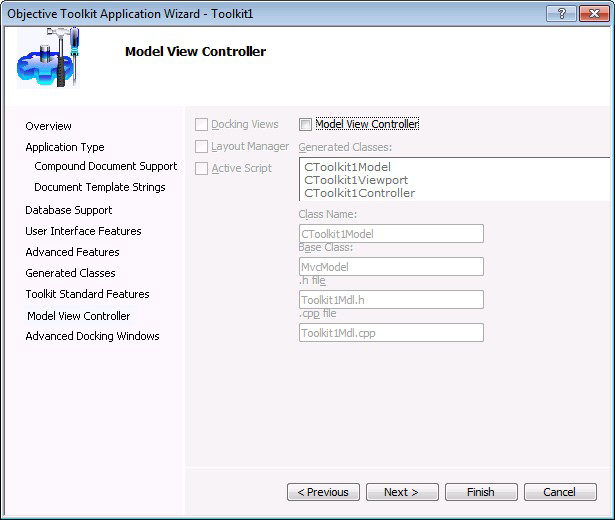
You can use docking views in combination with any other options to provide a convenient mechanism for docking CView derivatives contained in MDI child windows.
The Layout Manager is available in dialog-based applications to provide scaling and positioning algorithms for controls in a dialog that are independent of screen resolution. By default, a scale algorithm is applied to the dialog.
ActiveScript is integrated in your application as a separate document type. Consequently, this option is only available if you chose an MDI project type.
6. Click Finish.
7. Click
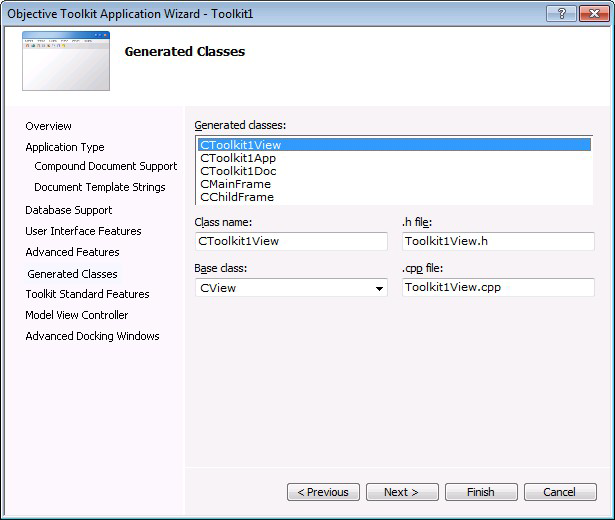
OK. The AppWizard closes. You can examine the new project in Visual Studio.
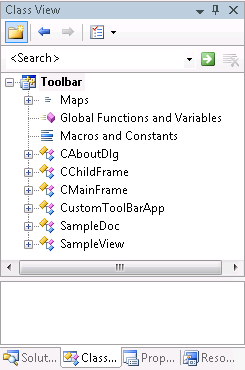
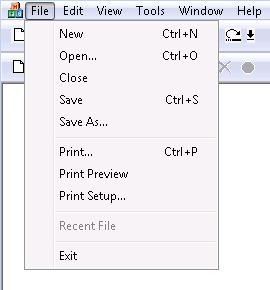
9. Compile and run the application. The skeleton application can now be used as a template for further customization.