Chapter 2 Building the Libraries
Build Wizard
Included with each of the Stingray Studio MFC products is a Build Configuration Wizard, a powerful tool that allows you to trim down the binary size of the Stingray Studio libraries and DLLs with a very fine level of granularity, and also allows you to rename the resulting library names (important for DLL distribution).
This wizard allows you to modify the build configuration for a particular Stingray Studio component and automatically generates the necessary Stingray Studio file updates to be used by your installed and supported Microsoft Visual Studio compiler(s). Some Stingray Studio components allow custom configurations in which the developer can selectively add or remove subsystems from the component. This yields the ability to create custom libraries that contain only a subset of the total subsystem set. You may consider doing this if you are only using a few subsystems out of the entire component, thereby creating much smaller libraries or DLLs. You can also redefine the library’s file name with this wizard.
As the last step of the Build Wizard, you must manually start the version of the Microsoft compiler you wish to use. In Microsoft Visual Studio, you can select the appropriate library version for your project. By default, all of the libraries will be built, but you can choose to build only the libraries that your project requires.
Once the library has been built, it is placed in the Stingray Studio Lib directory. The intermediate objects in the Obj directory can be deleted, as they are no longer needed. At this point you are ready to start using the Stingray Studio component in your own projects.
How Does It Work?
The Build Configuration Wizard, also called Build Wizard, is a simple wizard dialog that allows you to specify exactly the features to be used in your application, thus minimizing the size of the distributed DLL. After answering a few simple questions, the Build Wizard generates a custom-tailored makefile to build the Stingray Studio product library in the exact configuration you specified. This includes support for customizing the names of the libraries to avoid any potential name collisions or versioning problems.
The Build Wizard loads its configuration information from a BuildWiz.ini in the product directory under the utils directory. Alteration of the file BuildWiz.ini will allow you to further customize the build process, including adding your own source files. However, please understand that customizing the build in this way is not supported by Rogue Wave.
NOTE >> Technical support issues arising from alteration of the build files are not supported by Rogue Wave.
In addition, the Build Wizard can be used to generate multiple library configurations, such as one configuration with just the tree control and another that builds just the docking windows code. The Wizard dialogs describes this procedure to you. Be sure to customize the target library names of different build configurations to different target names; otherwise collision may occur.
To Run the Build Wizard
As of the 11.3.0 release of Stingray Studio, the Build Wizard executable and accompanying BUILDWIZ.INI files have been updated. These updates include:
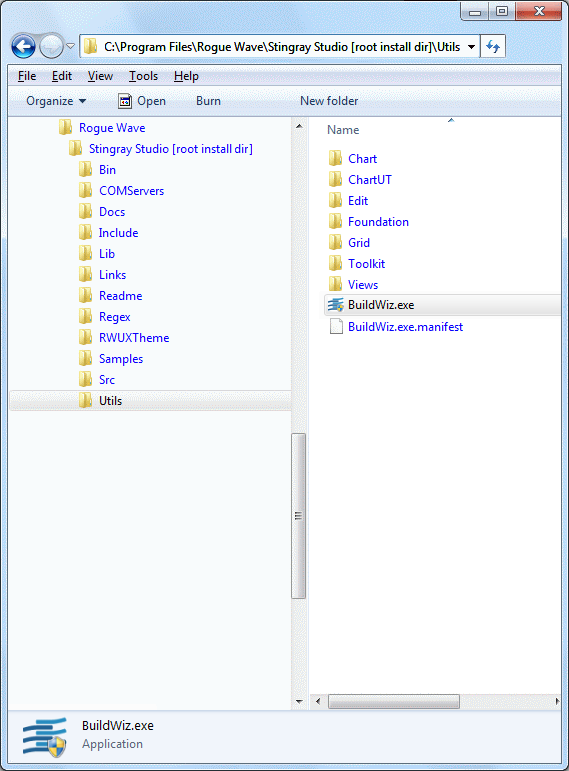
• A single executable, BuildWiz.exe, located in the <stingray-installdir>\Utils subdirectory.
• Dynamic product naming within BuildWiz.exe based on the INI file loaded.
• A slightly new look and feel.
• Improved functionality for the custom build configurations. See the Build Wizard Limitations section below.
To launch the Build Wizard and build the libraries for each of the Stingray products, use the Build Wizard with the corresponding INI file for each product. See
Figure 1 and
Table 2.
Table 2 – Build Wizard Files
Product | Build Wizard |
Stingray Foundation Library (SFL) | <stingray-installdir>\Foundation\BuildWiz.ini |
Objective Grid (OG) | <stingray-installdir>\Grid\BuildWiz.ini |
Objective Toolkit (OT) | <stingray-installdir>\Toolkit\BuildWiz.ini |
Objective Chart (OC) | <stingray-installdir>\Chart\BuildWiz.ini |
Objective Chart Toolkit (OCUT) | <stingray-installdir>\ChartUT\BuildWiz.ini |
Objective Views (OV) | <stingray-installdir>\Views\BuildWiz.ini |
Objective Edit (OE) | <stingray-installdir>\Edit\BuildWiz.ini |
After installation, you may run BuildWiz.exe one of three ways:
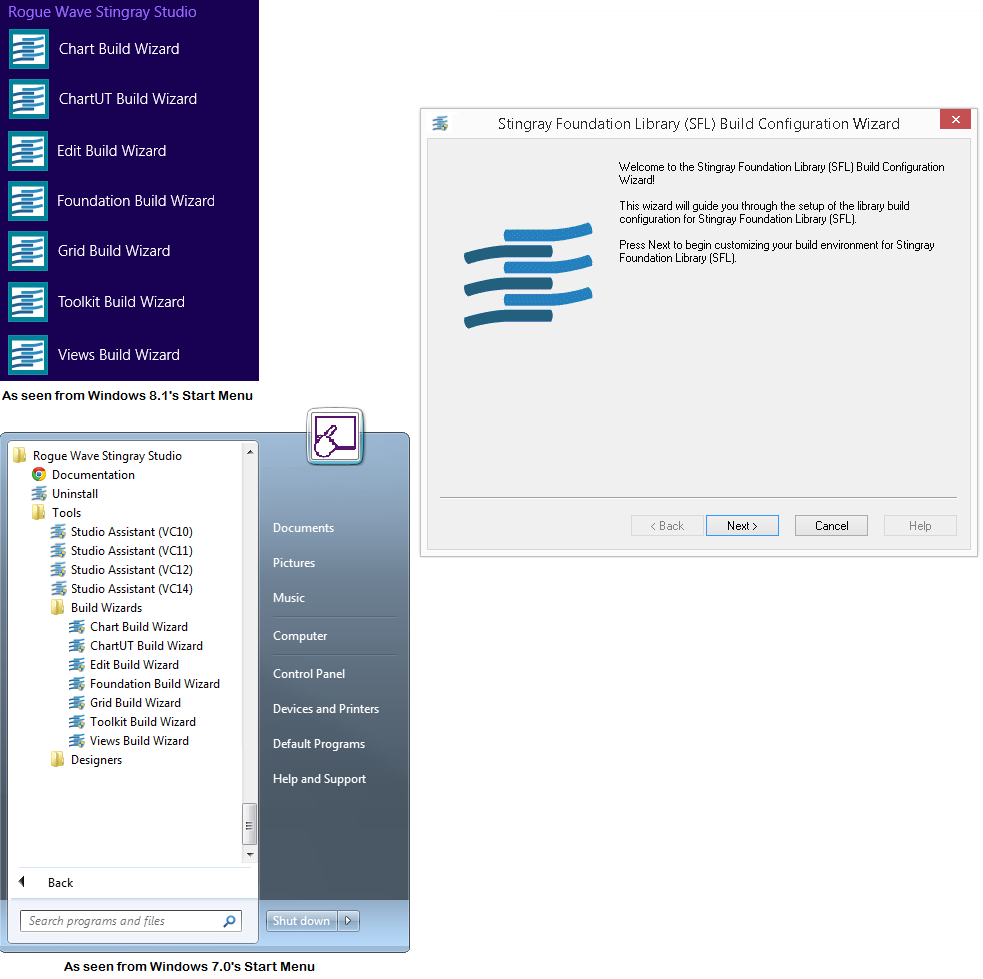
a. From the start menu:
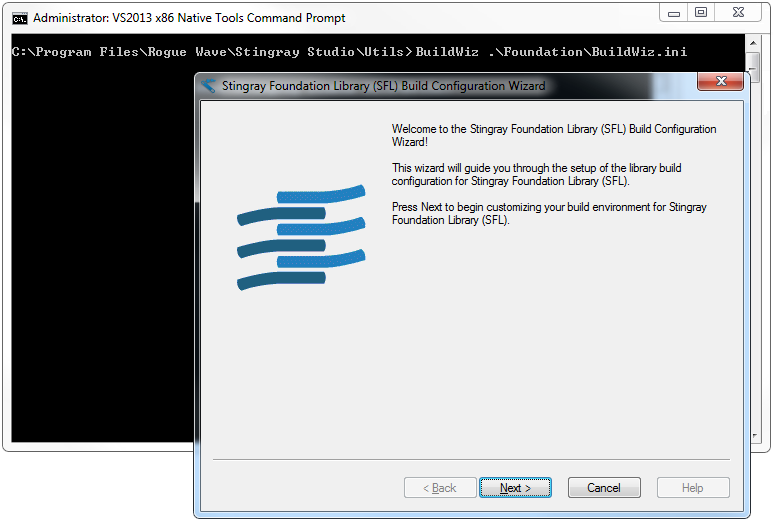
b. From the command line:
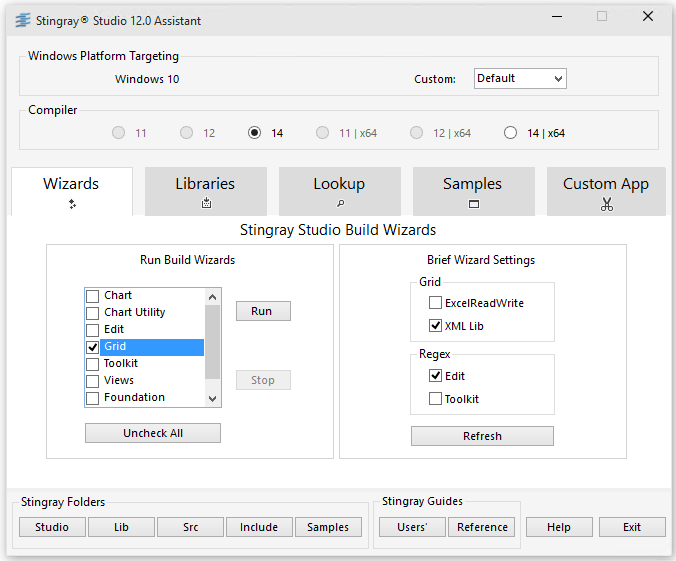
c. From Stingray Studio Assistant:
1. When you run the Stingray Build Configuration Wizard, the first panel displayed is the Build Wizard Welcome panel.
2. Click Next to proceed to the Build Wizard Configuration panel.
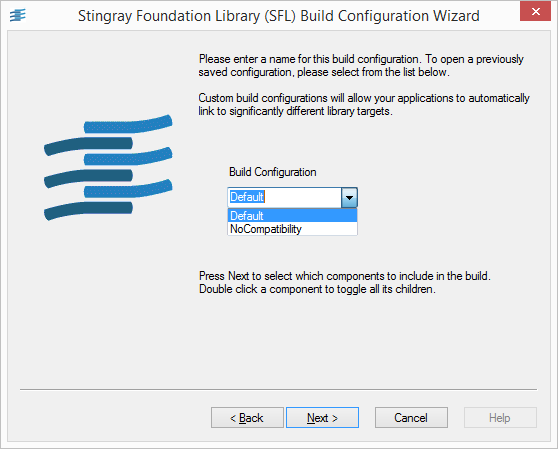
3. Enter a name for the build configuration or select a previously-saved configuration from the list. You can also leave the default name (Default).
4. Click Next.
If you want to create multiple configurations, you can run the Build Wizard multiple times, specifying a different configuration name each time. Several different configurations may coexist on your hard disk. For example, you may have one configuration that contains all the library components, and another configuration that contains only a few components. This is often helpful to decrease the size of an exported DLL.
NOTE >> Not all products have configurable options; however, the Build Wizard is included in those products to allow the generated library names to be changed. Changing the library name is highly recommended when distributing Stingray Studio DLLs.
The binary configuration information is stored in UTILS\product\configname.BWC. You can load and modify the configuration any time and rebuild the libraries with different features.
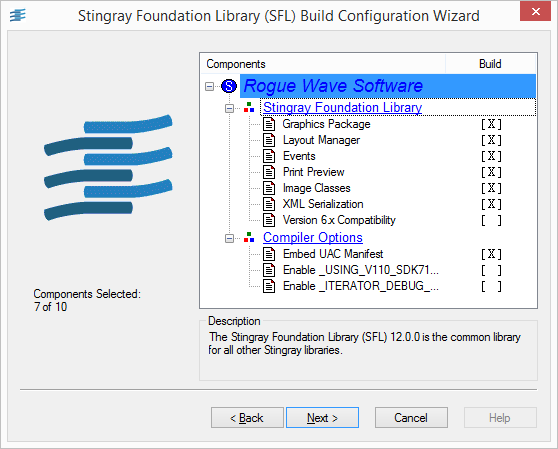
5. The next panel of the Build Wizard allows the specific components to be selected for a given configuration.
Click individual components to toggle ON or OFF component selections. Toggle entire branches of components by double-clicking the parent node. Click Next after all desired components have been selected.
The Build Wizards also include Compiler Options for Embed UAC Manifest and Enable _USING_V110_SDK7.1_ Flag for use with XP platform tool sets, and Enable _ITERATOR_DEBUG_LEVEL_ Flag. Check or Uncheck these options as needed.
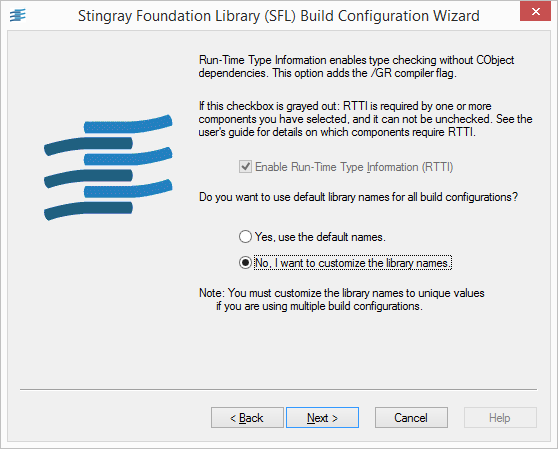
6. The next panel displays information about Run Time Type Information (RTTI) and default library file names:
Some components require that RTTI be enabled. If any of those components are selected in the previous panel, the RTTI checkbox will be checked and disabled.
The radio buttons on this panel specify whether the default library names are to be used, or whether the names are to be customized.
If the default names are used, click Finish. To customize the names, select No, I want to customize the library names and then click Next (when No is selected, the Finish button changes to Next).
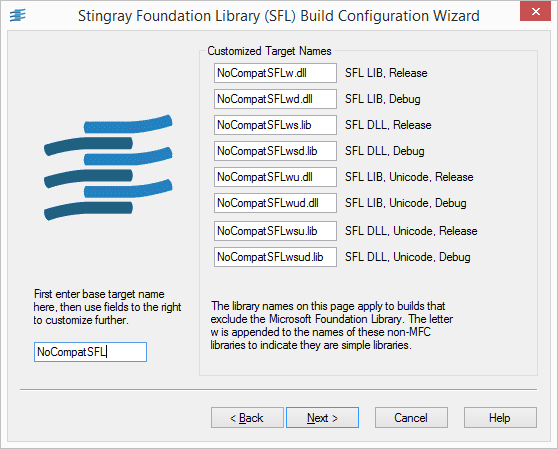
If the library names are to be customized, the following panel is displayed:
7. In the edit control in the lower left portion of the panel, the base name for all of the libraries can be entered. The individual names can also be modified.
8. After modifying the names, click Finish to complete the Build Wizard, and show the Build Wizard Results dialog:
9. Click Close to terminate the Build Wizard.
Build Wizard Limitations
1. The build wizard loads the INI file during the application's call to InitInstance. This means that any custom build configurations should start with the Default settings, then proceed to the Build Wizard Component Selection Panel (see Figure 4 above.). Make any and all adjustments using the options that appear in this dialog.
NOTE >> The Chart build wizard requires either the selection of the Standard Build option or one or more of the Discrete Chart options, but not both. Selecting both the Standard Build option and one or more of the Discrete Chart options will result in build errors.
After making custom changes, select the < Back button to rename your custom configuration. This ensures that when you complete the Build Wizard the name and options are saved correctly in the custom.bwc file. The next time the Build Wizard is started, the Default and all custom configurations defined should appear correctly.
2. The build Wizard does not launch an instance of Visual Studio. All the required build files — i.e. mak files, config files, dll source files, and so on — are updated when the Close button is selected at the end of the Build Wizard. You will then need to do one of the following:
— Run Visual Studio manually.
— Run Studio Assistant.
— Build the libraries from your own scripts.