Data Zooming
SRGraphPosition also plays a vital role in data zooming. The user begins to select a zoom-in area by clicking the mouse on a position within the display rectangle that is not in any data item’s feedback region. Then the user drags the mouse to a new position. The selection rectangle is displayed as the mouse is dragged.
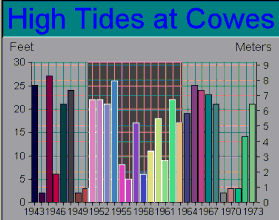
Figure 128 shows this selection process.
Different chart types support different types of zoom-in operations. For example, for a Line chart or Stacked VBar chart, SRGraphPosition can infer an index and value from the horizontal and vertical coordinates, respectively. These types of charts zoom by displaying only those data items within the selected range of indices— effectively changing the data scope of the display component.
In Vertical Bar and similar charts, SRGraphPosition can infer and index, group, and value from the mouse point. In this case, SRGraphView::OnLButtonDown() displays a dialog asking whether the data range selection is to be made on the indices, groups, or both.
For XY Scatter-type charts, with numerical scales on both axes, an axis zoom is performed based on the inferred values in both directions. The chart is redrawn with new axis limits.
Part of the information the SRGraphPosition returns is a flag, depending on the chart type, indicating what type of selection area is to be drawn— a horizontally expanding rectangle, a vertically expanding rectangle, a horizontally and vertically expanding rectangle, or an expanding circular section. SRGraphView::DrawSelection() uses this information to draw the selection area with its colors inverted (see CDC::InvertRect() in the GDI reference).
To create a custom chart type that requires a different type of selection region:
1. Define a new selection region type
#define CX_POSITION_SELECT_CUSTOM0x00040000
2. Override SRGraphView::DrawCustomSelection() to draw the custom region.