An Example: An ATL ActiveX Control Built From Objective Edit
As an illustration of the procedures involved, consider this walkthrough demonstration of building a control that wraps Objective Edit functionality.
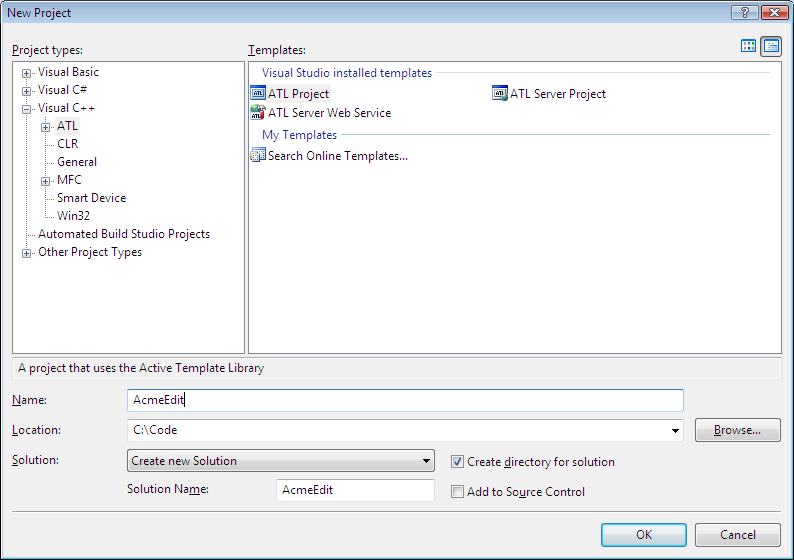
1. After launching Microsoft Visual Studio, start up a new project and select the ATL Project.
2. Name your new project acmeedit, as shown.
3. Click OK and proceed to the next screen.
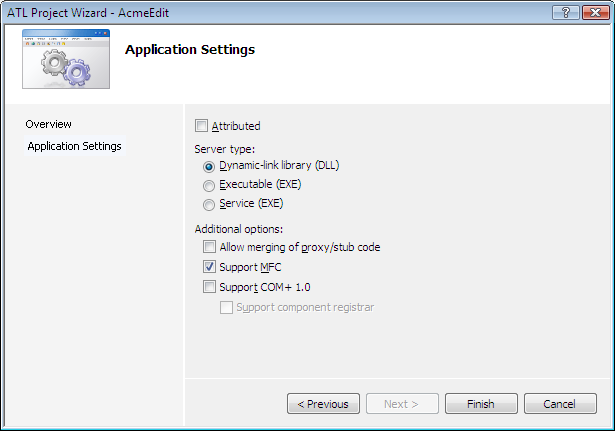
NOTE >> Selecting ‘Support MFC’ is required; otherwise, inserting an Objective Edit component as an ATL object, results in an error message and does not allow you to proceed.
4. Click Finish.
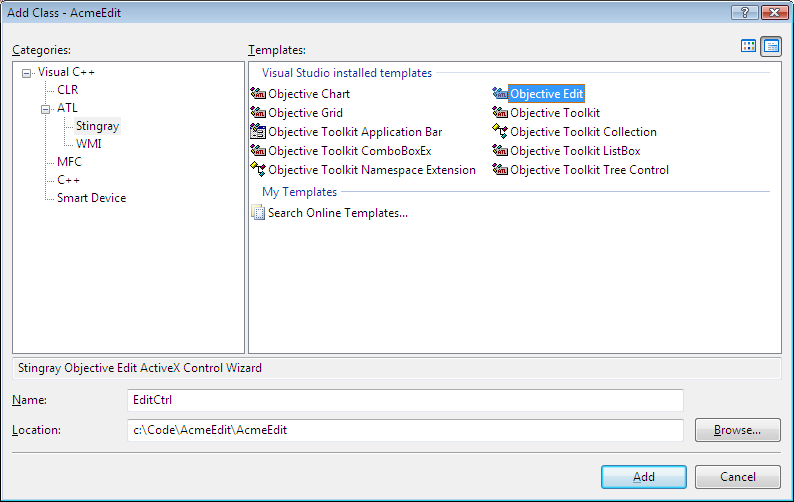
5. Once your initial project files are generated, select Add Class from the Project menu.
6. Select
Stingray from the
ATL subdirectory as shown in
Figure 36 to insert the
Objective Edit control.
The custom object wizard for the
Objective Edit control is shown highlighted in
Figure 36.
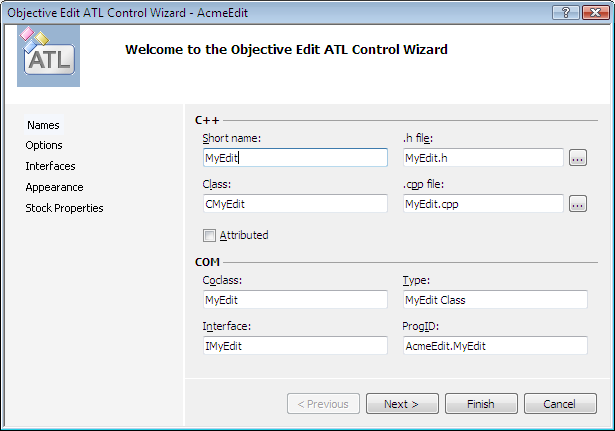
7. With the default object selected, click Next to produce the following dialog box:
8. Type the short name MyEdit. The wizard automatically derives class names, file names, an interface name, and so forth.
9. Accept these defaults by clicking OK.
The wizard should take only a couple of seconds to generate the required source code.
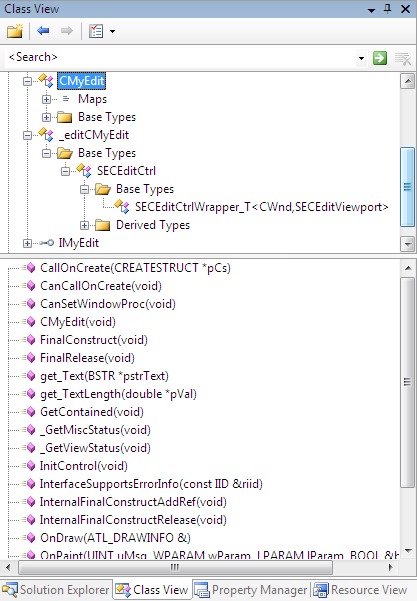
10. Examine the Class View tab which you can view by clicking View|Class View:
The wizard has generated all the required source code to instantiate and run an Objective Edit control. Note that two exported properties—Text (get and put methods) and TextLength (get method only)— are provided only as an example. As a developer, you will add method declarations (under the Imyedit interface) and implementation (under Cmyedit) to export and/or extend Objective Edit’s functionality in your own custom control.
Building and Testing A Control
We can now build our control!
1. Start the build process.
2. After your control builds successfully, start a Visual Basic project.
NOTE >> You can proceed in one of two ways from this point.
3. Option 1: Use a readily-built VB project as shown.
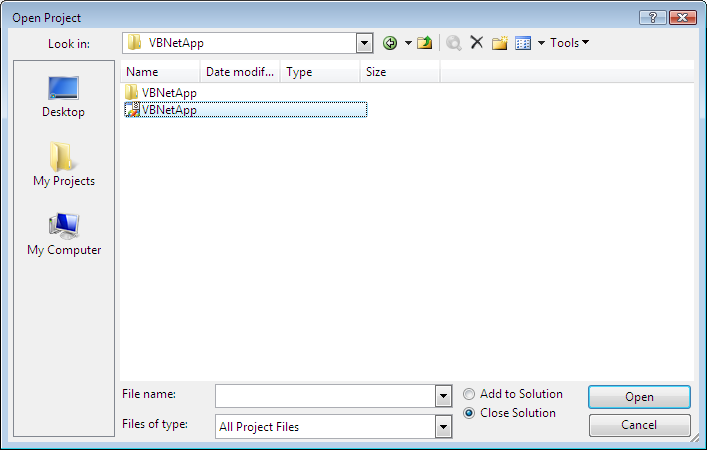
Option2: Alternatively, we can start a new VB project from scratch, add in the control we've just built, and proceed from there. This second option is the one we’ve chosen to illustrate in detail.
4. Create a new Visual Basic project by clicking
File|New| Project and selecting
Windows Application as shown in the figure below.
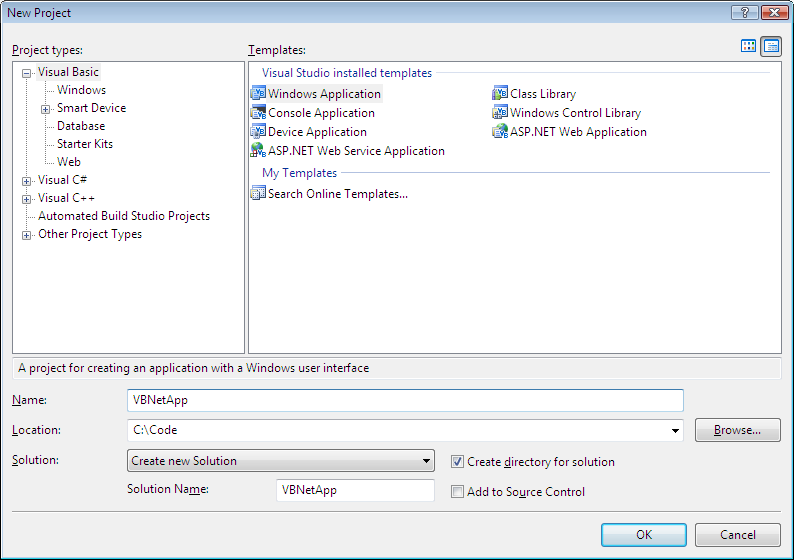
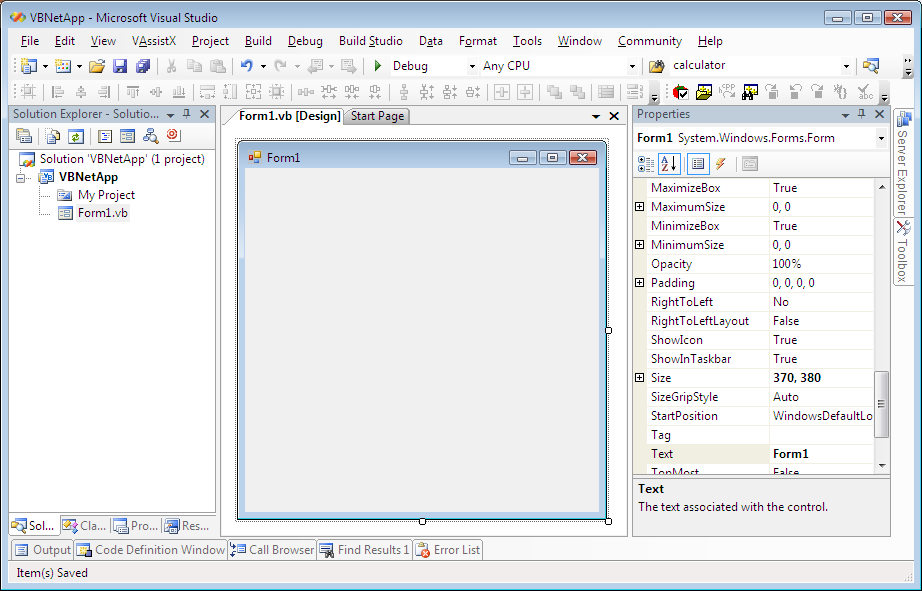
5. This leads to the familiar VB default new project development environment…
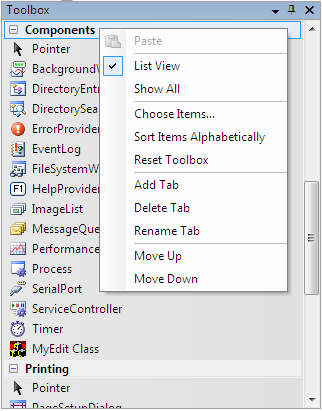
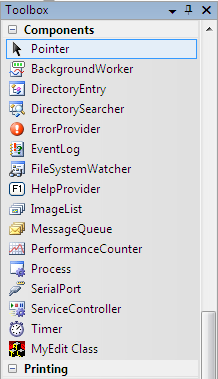
6. Now, add your freshly-built ActiveX control to your VB form. Right-click on the Toolbox, select Customize Toolbox and find your ActiveX Class.
7. After you click OK, the icon for the control (currently the default ATL icon) is placed on VB’s tool palette.
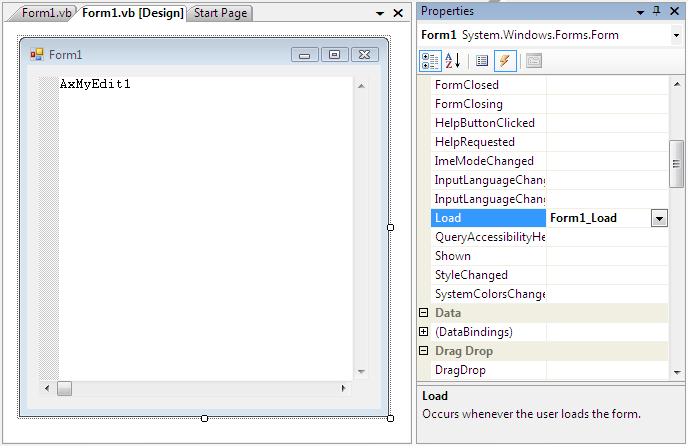
8. Click the edit control icon (circled above) and draw an instance of the Objective Edit control on the VB form.
9. Add code to the Form_Load procedure:
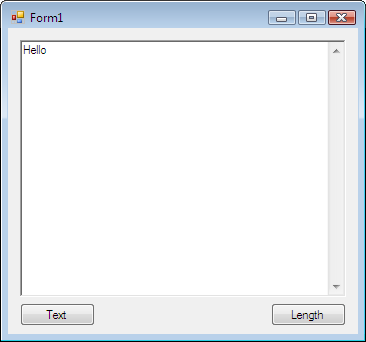
10. Finally, run the VB project.
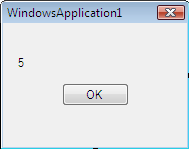
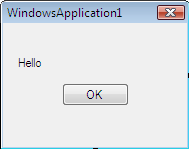
11. Click the
Text button to produce a message box containing text retrieved from the control:
12. Click the
Length button to produce a similar message box containing the length of the text: