Add Symbols to Your Application
Now we need to add the symbols created in the previous section to our application so your user can insert a symbol onto your application’s canvas. In this section, you learn how to:
• Add symbols as resources.
• Add custom and Objective Views symbols to a toolbar.
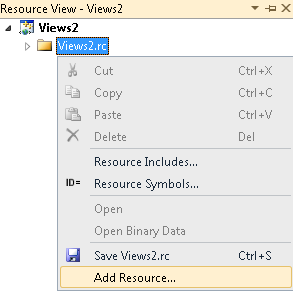
1. In Visual Studio, open the
Resource View for your project. Expand project node, right click on *.rc node and select
Add Resource, as shown in
Figure 20.
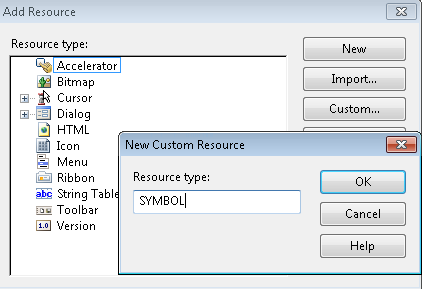
2. In the Add Resource dialog box, click on Import, then select the circle symbol file you created. Because Visual Studio cannot automatically recognize the symbol resource type, it prompts you to specify the resource type.
3. Type SYMBOL in the Resource type: box and then click OK. Visual Studio adds a symbol folder to your project’s resources.
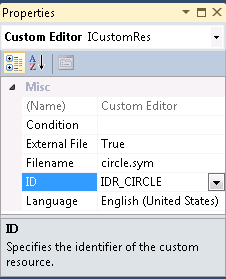
4. Now, let’s assign an ID to the newly imported symbol. Select the circle from the SYMBOL folder in the resource tree and choose Properties from the View menu. Assign an ID of IDR_CIRCLE to the circle.
5. Insert the stingray symbol the same way you inserted the circle and assign it an ID of IDR_STINGRAY.
Now that the symbols have been added to the application as resources, we need to provide a way to insert the symbols onto the canvas through the application’s user interface, such as a toolbar with buttons for each symbol.
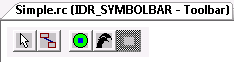
6. Create a new toolbar resource. (If you have never created a toolbar with Visual Studio, we recommend you review this feature before continuing.) To make a new toolbar, click the right mouse button on the toolbar folder in the resource tree and select Insert Toolbar.
7. Next, let’s name the toolbar. Highlight the toolbar in the Resource View tab. Then, on the View menu, click Properties. Name the toolbar IDR_SYMBOLBAR.
8. Now we’ll add four buttons to the Symbol toolbar. You can copy these buttons from resource files shipped with Objective Views. The first two buttons are in the Objective Views resource file, which is called OdRes.rc. It is stored in the Objective Views Include directory. Open the OdRes.rc file in Visual Studio and click the Resource View tab.
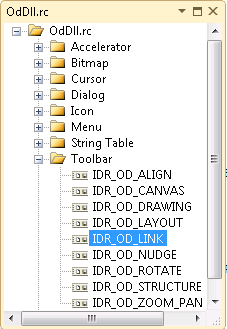
9. Find the
IDR_OD_LINK toolbar in
OdRes.rc, as in
Figure 26.
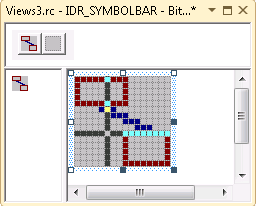
10. Open
IDR_OD_LINK and copy the
Link toolbar button

. Paste the button directly onto the
Symbol toolbar, as shown in
Figure 27.
11. In OdRes.rc, find the IDR_OD_DRAWING toolbar.
Open it and copy the
Select button

. Then, paste it onto the
Symbol toolbar.
12. The last two toolbar buttons you need to add to the Symbol toolbar enable the user to insert the symbols you created earlier. You can copy the buttons for the circle and stingray symbols from the resource file for the Showcase sample. The name of the resource file is Showcase.rc. It is stored in the <stingray-installdir>\Samples\Views\Showcase directory.
13. Open Showcase.rc and open the IDR_SYMBOLS toolbar.
Copy the
Stingray button

and paste it onto the
Symbol toolbar. With the button selected, select
Properties from the
View menu and name the button
ID_STINGRAY.
14. Copy the Circle button

from the
IDR_SYMBOLS toolbar. Then, paste it onto the
Symbol toolbar. With the button selected, select
Properties from the
View menu and name the button
ID_CIRCLE.
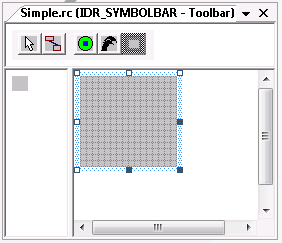
15. Rearrange the buttons on the
Symbol toolbar so it resembles
Figure 28.