Using Symbols as Resources
To import a symbol into your application’s resources, you need to have a symbol in a file. We suggest you place the symbol file in your project’s resource directory along with all of your other resources such as cursors, toolbars and bitmaps.
To use a symbol as a resource, complete the following steps:
1. After you place the symbol file in the resources directory, open the Resource View for your project. Expand project node, right click on *.rc node and select Add Resource.
2. In the
Add Resource dialog box (
Figure 81), click on
Import. Remember we want to import a resource, not create one.
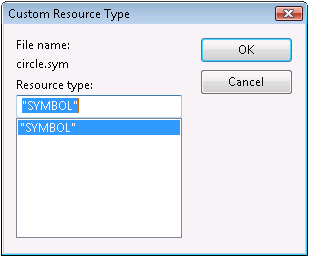
3. Now you need to locate the file that holds your resource. Navigate to your symbol file and select it. Visual Studio detects that this is not one of its standard resource types and prompts you to define it in the Custom Resource Type dialog box.
4. Type SYMBOL in the Resource Type box and click OK.
5. Now the symbol is a part of your application’s resources. After you import a symbol resource the first time, SYMBOL appears as a choice in the Custom Resource Type dialog. Then, you can select it instead of typing SYMBOL each time.
6. To access the resource, pass in the resource ID of the symbol you want to the Create() method:
CODSymbolComponent* pNewSymbol = new CODSymbolComponent();
pNewSymbol->Create(IDR_SYMBOL1);